
The installation of the SAP cloud connector is basically very simple. However, there are some prerequisites that you should check in advance.
One prerequisite is to use an operating system supported by SAP. The following operating systems are supported:
- Red Hat Enterprise Linux (x86/64 and PowerPC)
- SUSE Linux Enterprise Server (x86/64 and PowerPC)
- Windows Server
- Windows 11
- MacOS (Note that you should not use macOS for productive scenarios.)
The cloud connector is a Java application that requires a JVM to run. The application is implemented as a web application and uses Apache Tomcat as its runtime environment. The cloud connector requires at least JVM 8 in all currently supported versions. As of cloud connector version 2.14.0, an SAP JVM of version 11 is required; cloud connector version 2.15.0 requires JVM version 17.
The JVM loads the Java bytecode, checks it, and executes it. It’s known as the interpreter and thus the core of the Java programming language as it executes the Java programs. It’s platform-dependent and performs many functions, including memory management and security.
The cloud connector must be able to establish an internet connection to the SAP Connectivity service hosts. This is the counterpart of the cloud connector in SAP Business Technology Platform (SAP BTP). The cloud connector actively connects to the SAP Connectivity service. All connections to the hosts are TLS-based and are established via port 443. This means that your firewall must allow an outgoing connection via port 443 to SAP BTP. You also have the option of restricting outgoing connections to the IP addresses of the data centers used. We deliberately do not list the IP addresses here as they change frequently. You can find the currently valid list in the cloud connector documentation.
If you install the cloud connector in a network segment that is isolated from the backend systems—for example, the DMZ—then you must ensure that the exposed hosts with the associated ports are network-accessible. This means that in the firewall, you must open the ports inbound.
After you have fulfilled all requirements in your system landscape, the cloud connector can be installed. To do this, the cloud connector must be downloaded from https://tools.hana.ondemand.com/. Unlike most other SAP products, the cloud connector is not obtained via the SAP Service Marketplace. Therefore, you do not need a user in the SAP Service Marketplace to download it. SAP also provides the SAP JVM for download on the same page from which the cloud connector can be obtained (see below).
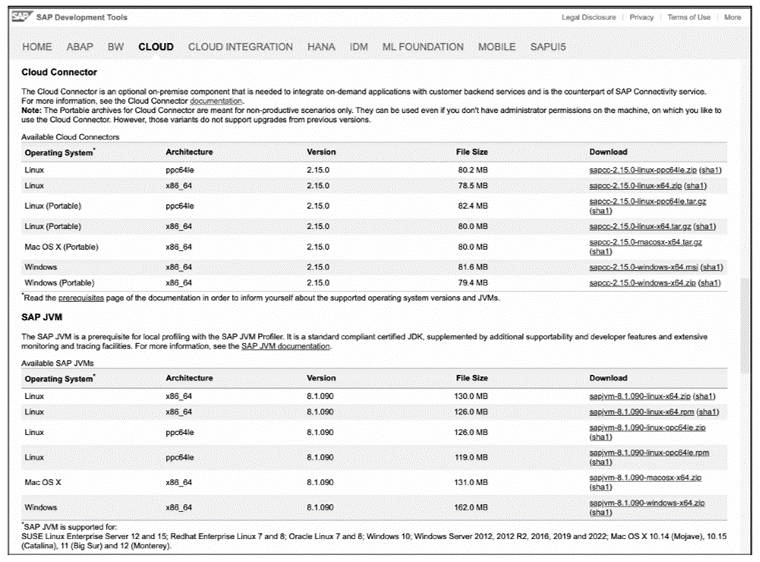
As you can see, the cloud connector is also available for download in a portable version. This is a version that only needs to be unpacked and can then be started directly from the command line. Please note that no administrator or root privileges are required for installation. You can run multiple instances on the same host on different ports. The portable version has the following limitations:
- It’s intended for nonproduction scenarios only.
- It doesn’t support an automatic upgrade procedure. To upgrade a portable installation, you must delete the current installation, extract the new version, and then configure it again.
- The JAVA_HOME environment variable is relevant when starting the instance, so it must be set correctly.
- You can’t run it in the background as a Windows service or Linux daemon.
The other, nonportable versions, also called installer versions, come with an installer that also sets up the cloud connector as a service in the underlying operating system. This requires administrator or root privileges for installation and allows the cloud connector to be set up to run as a Windows service or Linux daemon in the background. You can easily upgrade the installer version, preserving all the configurations and customizations you have made.
Ahead, we show how to install the cloud connector on a Windows operating system. To install the cloud connector, you must install the Microsoft Visual Studio C++ 2013 runtime libraries (file name vcredist_x64.exe). For information, see SAP Note 2493763.
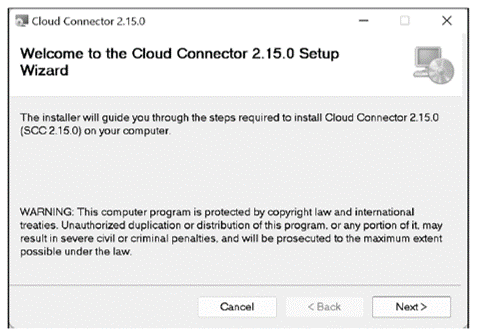
In principle, the installation on Linux operating systems works in a similar way. After you have downloaded the cloud connector and transferred it to the host on which it is to be installed, the installer can be started in File Explorer by double-clicking the MSI file. You will be guided through the installation by a wizard, as shown below. In the first step, the prerequisites are checked. If no error occurs, you can click Next.
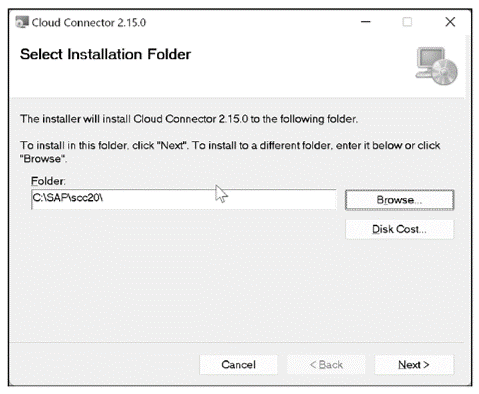
In the next step, you must select the installation directory. Then click Next.
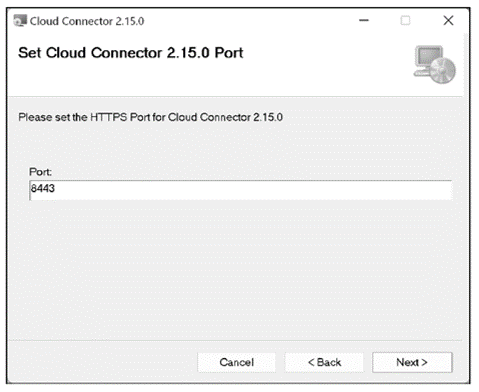
After that, you have the option to customize the port used by the cloud connector. By default, the cloud connector is installed on port 8443. Then click Next.
You now must select the installation directory of the JDK. Make sure that you’re using a version supported by SAP.
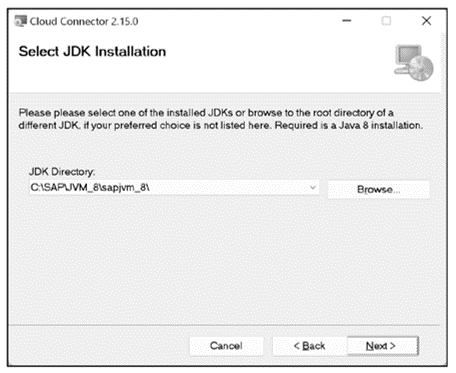
The supported versions can be found in the SAP Connectivity service documentation in the Cloud Connector > Installation > Prerequisites section. At the time of writing, this documentation is available at http://s-prs.co/v568301.
When you’re done, click Next.
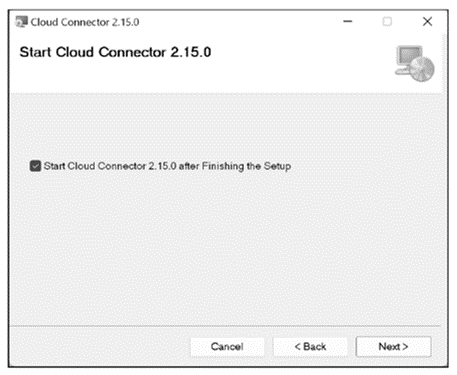
You now have the option to define whether the cloud connector should be started immediately after successful installation. Then click Next.
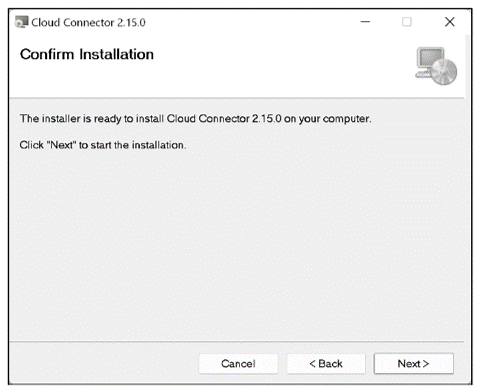
Finally, you must confirm again that you want to start the installation. Then click Next to start the installation.
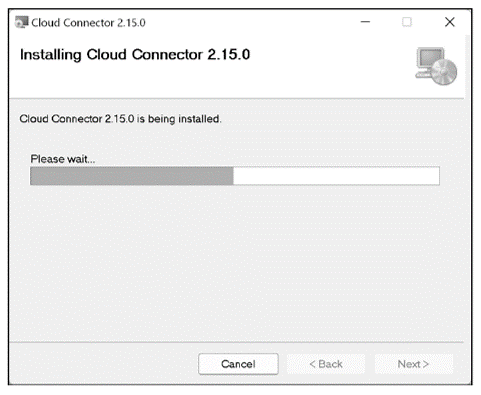
After the installation is started, you will see the status of the installation. Normally, no errors should occur at this point.
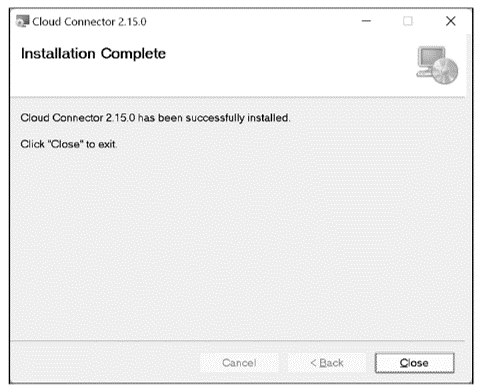
After successful installation, you’ll be informed of the completion of the installation. Close the dialog by clicking Close.
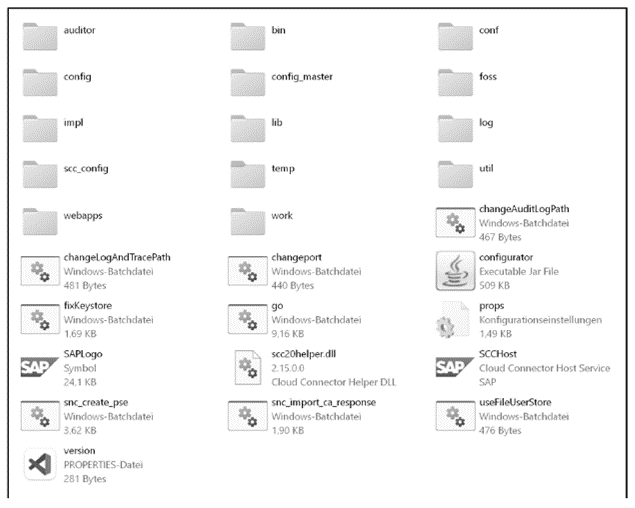
After the installation is complete, you’ll see the directory structure shown in the figure below. The most important files in the installation directory are as follows:
- bat (.sh): This allows you to start the cloud connector manually.
- bat (.sh): This allows you to change the port used by the cloud connector.
- bat (.sh): If your LDAP settings don’t work as expected, you can use this to return to the filebased user store.
- bat (.sh): As of cloud connector 2.14, you can use this to move audit logs to another location. The default location is the log/audit directory.
- bat (.sh): As of cloud connector 2.14, you can use this to move trace files to another location. The JVM-related files remain in the default location log.
At this point, we should also mention that the cloud connector doesn’t require a database. This means that the entire configuration, log, and trace files are stored locally on the file system of the cloud connector. Therefore, you should make sure that the installation directory is included in your backup. However, you should also restrict access to the directory according to your requirements. Special attention should be paid to the log and trace files.
Editor’s note: This post has been adapted from a section of the book Cloud Connector for SAP by Martin Koch and Siegfried Zeilinger.


Comments